So I said I would be back with more detailed instructions and pictures.
Well, I started by Brayering in So Saffron over a good portion of my whisper white cardstock. (Cardstock piece measures 4" x 5 1/4") Be patient with this layer. This is a light yellow and it takes a while to build up.
Then I brayered over the So Saffron layer with More Mustard. I only went about half way as far as I did the first layer.
Then I brayered a smaller portion at the top with Cajun Craze. Sorry no pics for these first few steps. But I think you can follow along without them.
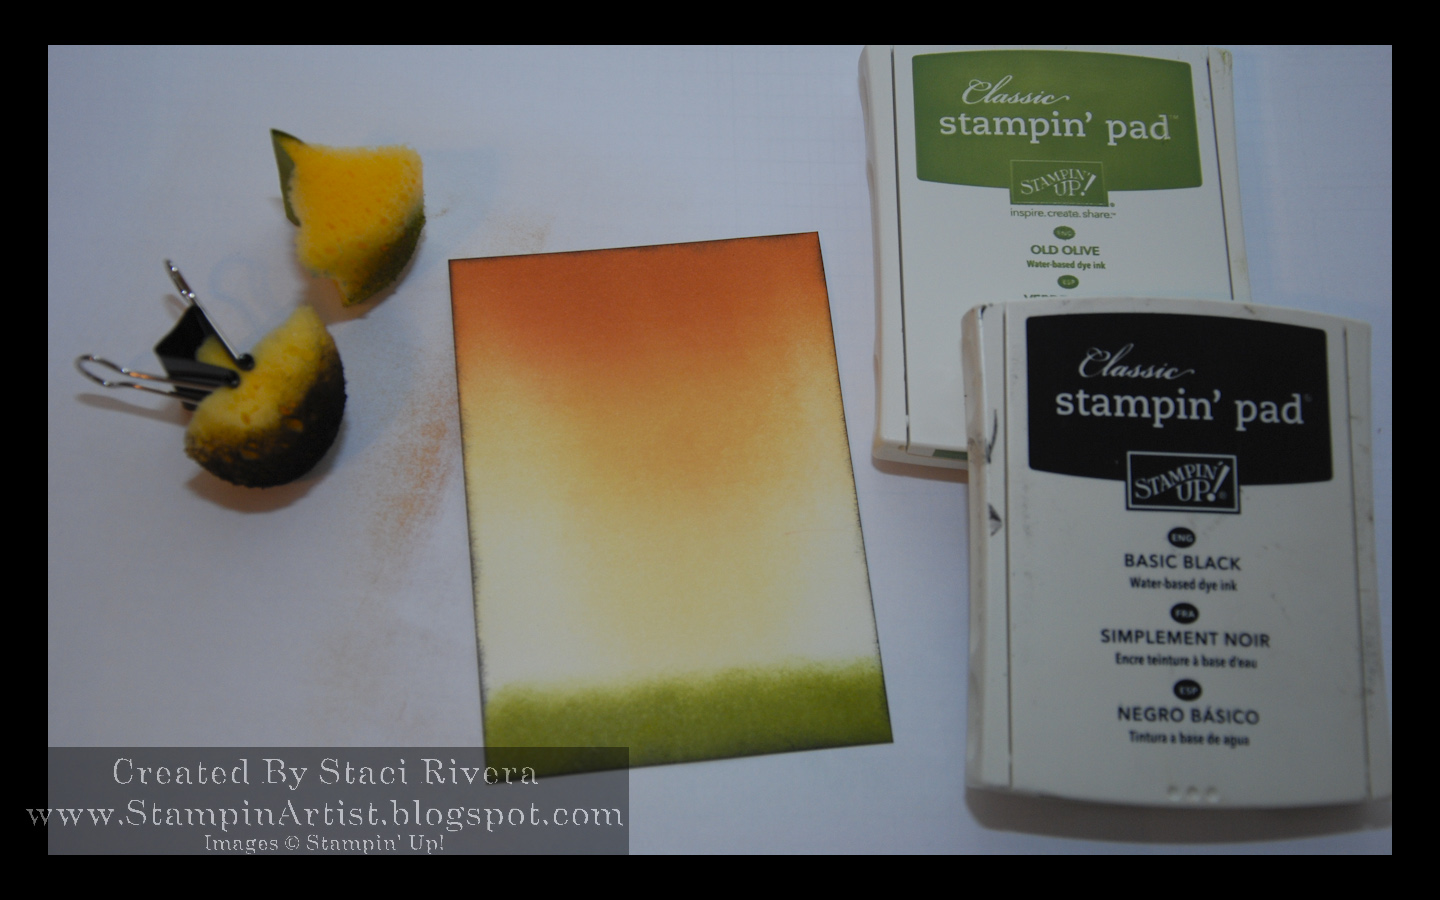
The next step is sponging old olive along the bottom in order to make the grass. I also sponged all the way around the piece of cardstock with old olive.
I then stamped the silhouette stamp in Staz On Black ink. I used a stamp-a-ma-jig to get the positioning right. DO NOT stamp on your imaging sheet with Staz On. I probably didn't need to say that but just in case. Use Gray or Basic Black, Staz On is permanent. As a side note watch out when you use Staz On and clear blocks. I have one block that has a line on it from a Staz On incident.
Next cover the geisha with a sticky note. Leave just a sliver of the bottom of her showing.
The sponge a black shadow under her. I used a Q-tip to get it more precisely in the area that I wanted it to be.
All done. Just mount it to your 1/4 fold card. I used black just to make it more dynamic. See yesterday's post for a complete supply list.
Happy stamping!
-Staci


No comments:
Post a Comment